Every perfectly shaped brow begins with precise mapping. This foundational skill ensures symmetry, balance, and flattering results regardless of the shaping method you use—waxing, threading, tweezing, or preparing for semi-permanent makeup. Understanding brow mapping principles allows you to create consistently beautiful brows that complement each client’s unique facial features.
Brow mapping isn’t about creating identical brows on every face—it’s about understanding proportions and landmarks that guide you to the ideal brow shape for each individual. According to Statistics Canada data on personal services, brow services remain consistently popular as clients recognise the transformative power of well-shaped brows.
At Canadian Beauty School, our beauty courses teach professional brow techniques including mapping fundamentals that ensure flattering results for every client.
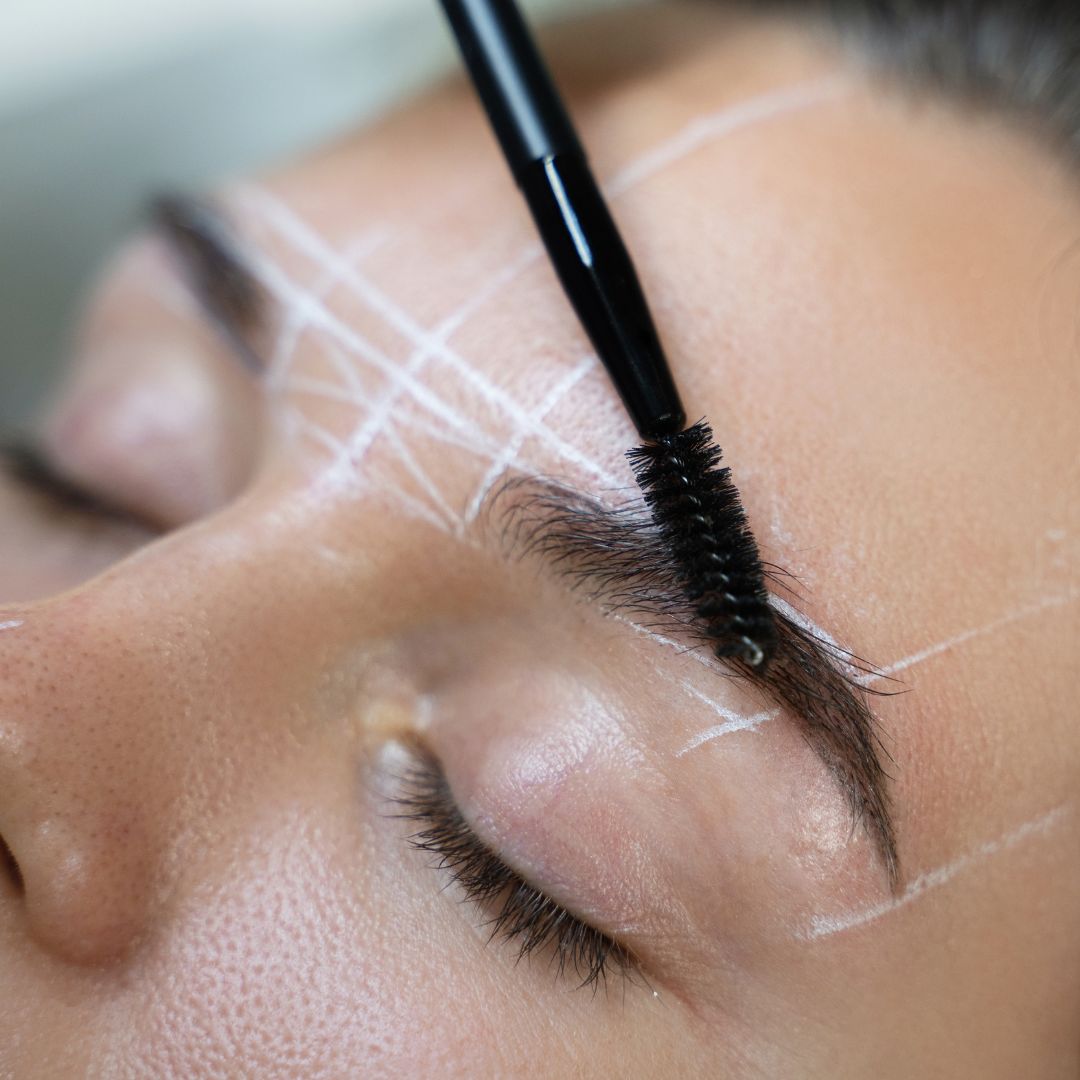
Understanding Brow Mapping
What Is Brow Mapping?
Brow mapping is a measurement technique used to identify the ideal start point, arch position, and end point for brows based on facial proportions and landmarks. Using reference points (typically the nose and eye), technicians establish guidelines that ensure balanced, symmetrical results.
Why It Matters: Ensures consistent, professional results. Creates symmetry between brows. Guides removal of correct hairs only. Prevents over-tweezing or incorrect shaping. Provides client confidence through visible measurement.
The Golden Ratio Principle
Brow mapping often references the “golden ratio”—mathematical proportions found throughout nature that humans perceive as beautiful. While strict golden ratio application isn’t always appropriate for every face, the principles inform pleasing brow proportions.
Key proportions include brow length relative to eye width, arch position relative to facial landmarks, and brow height relative to facial dimensions.
The Three Essential Points
Point 1: The Start
Location: Where the brow should begin, aligned with the inner corner of the eye.
Finding It: Hold a straight edge (mapping tool, pencil, or string) vertically from the outer edge of the nostril, passing the inner corner of the eye. Where this line intersects the brow is the start point.
Considerations: Some prefer measuring from the centre of the nostril for a slightly closer-set start, while others use the outer nostril edge for a slightly wider-set start. Face shape and eye position influence which reference creates better balance.
Point 2: The Arch
Location: The highest point of the brow, where the brow changes direction from ascending to descending.
Finding It: Hold a straight edge from the outer nostril, angled through the centre of the pupil (looking straight ahead). Where this line intersects the brow is the arch point.
Alternative Method: Measure from the outer nostril through the outer edge of the iris for a slightly more extended arch position.
Considerations: Arch position dramatically affects expression. Too far inward creates surprised look; too far outward can look dated. Adjust based on client preference and face shape.
Point 3: The End
Location: Where the brow should terminate.
Finding It: Hold a straight edge from the outer nostril, angled through the outer corner of the eye. Where this line intersects the brow is the end point.
Considerations: The end should typically be at or slightly above the level of the start point—never significantly below, which creates a droopy appearance. Extending slightly beyond the outer eye corner often looks most flattering.
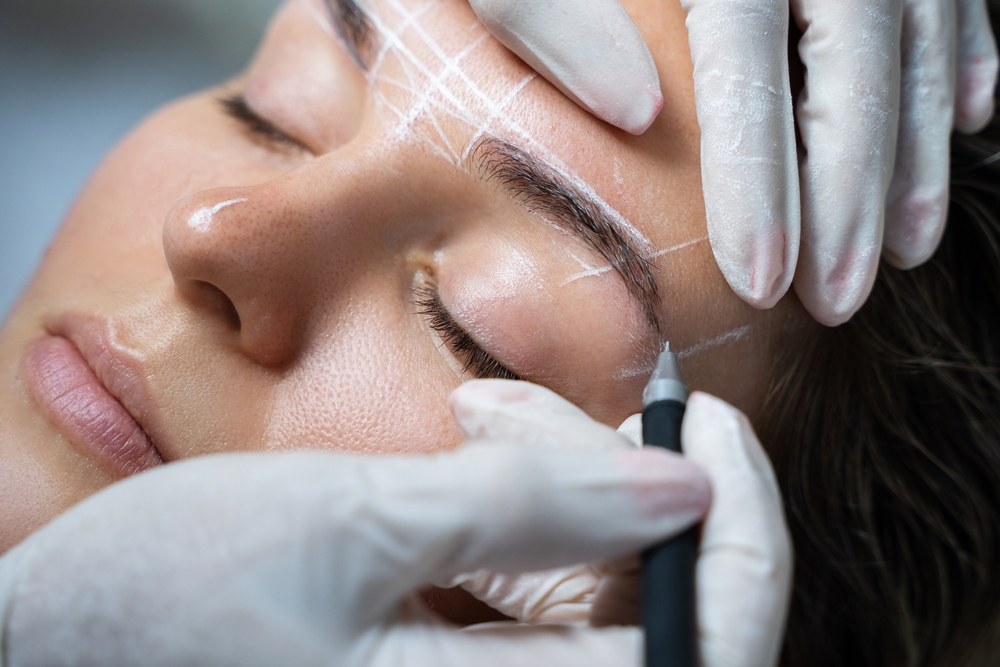
Mapping Methods
String Mapping
Using measured string or thread to create physical guidelines on the skin.
Process: Measure and mark points using string dipped in pigment or pencil. Create connecting lines to visualise the complete brow shape. Adjust as needed before any hair removal.
Advantages: Visible guidelines for both technician and client, precise measurements, and professional presentation.
Pencil/Tool Mapping
Using a straight tool held against facial landmarks.
Process: Hold mapping tool against reference points (nostril, eye corners). Mark points on skin with brow pencil. Connect points to create guidelines.
Advantages: Quick to perform, no additional supplies needed, and easy to adjust.
Digital Mapping
Using apps or digital tools to overlay ideal brow shapes.
Process: Photograph client’s face. Use software to analyse proportions and suggest ideal shape. Reference digital map during shaping.
Advantages: Visual client communication and technology-forward presentation.
Adjusting for Face Shapes
Oval Face
Often considered the “ideal” proportions, oval faces suit most brow shapes.
Recommendations: Soft angled brows that follow natural bone structure. Avoid extremes—neither too flat nor too arched.
Round Face
Rounder faces benefit from brows that add angles and visual length.
Recommendations: Higher, more angled arches to add definition. Avoid rounded brow shapes that echo face shape.
Square Face
Strong jawlines and foreheads suit brows that soften angles.
Recommendations: Softer, curved shapes that balance strong features. Avoid very angular or harsh shapes.
Heart Face
Wider foreheads with narrower chins need balanced brows.
Recommendations: Soft, curved shapes that don’t add width at the forehead. Rounded arches rather than sharp peaks.
Long Face
Elongated faces benefit from brows that add horizontal dimension.
Recommendations: Flatter, more horizontal brows that visually widen the face. Avoid very arched shapes that add vertical length.
Practical Application
Client Consultation
Before Mapping: Discuss client preferences and show examples. Assess natural brow growth and condition. Consider lifestyle, maintenance preferences, and makeup habits.
During Mapping: Explain each measurement as you make it. Show client the mapped points in a mirror. Confirm shape before any hair removal.
Common Mapping Mistakes
Ignoring Natural Growth: Maps should work with existing brow shape where possible, not force an unnatural shape.
Over-Reliance on Rules: Mapping provides guidelines, not rigid rules. Adjust for individual features.
Asymmetrical Mapping: Faces are naturally asymmetrical; brows don’t need to be identical, but should be balanced.
Client Disconnection: Failing to show and explain mapping to clients leads to miscommunication.
Working with Asymmetry
All faces have some asymmetry. Brows don’t need to be identical—”sisters, not twins” is the common phrase. Work to create balance rather than matching perfectly. Determine which brow has the better shape and use it as the template.
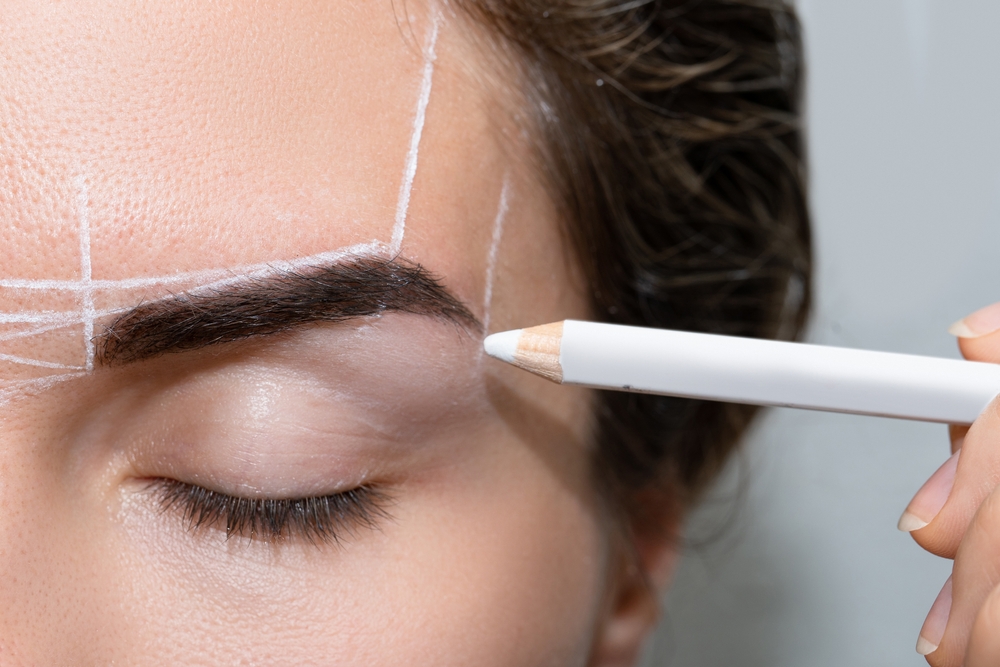
Mapping for Different Services
For Waxing/Threading
Map before any hair removal. Use mapped points to guide where to remove hair. Regularly check against map during removal.
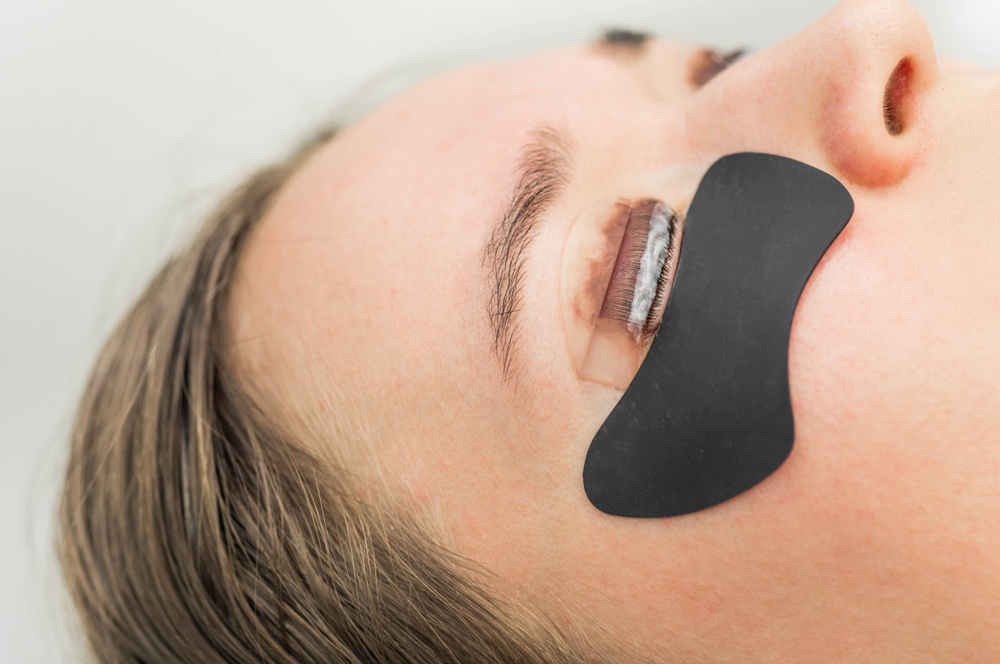
For Brow Lamination
Map to determine ideal hair direction. Use mapped arch position to guide brushing direction. Ensure laminated shape follows mapped guidelines.
For Semi-Permanent Makeup
Precise mapping is critical—permanent results demand accuracy. Use multiple mapping methods to confirm. Have client approve mapped shape before proceeding.
Building Mapping Expertise
Practice Recommendations
Practice mapping on friends, family, and colleagues. Photograph your maps and results to analyse accuracy. Compare mapped shapes to finished results—did you follow your guidelines?
Tool Investment
Quality mapping tools improve precision. Invest in proper string, mapping pencils, and rulers. Consistent tools create consistent results.
At Canadian Beauty School, our beauty courses teach brow mapping as a foundational skill for all brow services.
Ready to create consistently perfect brows? Our beauty courses teach mapping fundamentals that ensure flattering results for every face. Master the principles of proportion and balance that guide professional brow shaping. Explore our courses today and build your brow expertise.