Becoming a qualified nail technician is the beginning of the journey, not the destination. For many graduates, the ultimate goal is not employment in someone else’s salon — it is building their own nail business: setting their own hours, choosing their own clients, and controlling their income. Canada’s nail industry supports a thriving ecosystem of self-employed technicians working from home studios, renting salon chairs, offering mobile services, and eventually opening standalone studios.
But business success does not follow automatically from technical skill. The nail technicians who build profitable, sustainable businesses in Canada are those who combine strong practical ability with clear business strategy from the very beginning. This guide walks through every step of launching your nail tech business, from legal registration to your first booked-out week.
Step 1: Choose Your Business Model
The first decision is how and where you will deliver your services. The most common models for newly qualified nail technicians in Canada are: working from a home studio; renting a chair or booth at an established salon; offering mobile services; or working as a subcontractor for a salon or event agency.
Home studios offer the lowest overhead and the greatest schedule flexibility. You control your environment, invest in your own setup, and retain all revenue. The key requirements are a dedicated workspace that meets provincial sanitation standards, appropriate ventilation (particularly if you work with acrylics), and a business insurance policy that covers professional liability in a home setting.
Salon chair rental is popular among nail techs who want an established location and the energy of a professional salon environment without the commitment of employment. You pay a fixed weekly or daily fee and keep all client revenue. Most Canadian cities have a healthy market of salons offering chair rental arrangements, and the built-in foot traffic can help accelerate early client building.
Step 2: Legal Registration and Business Setup
Before taking your first paying client, ensure your business is properly established. In Canada, the most common business structures for independent nail technicians are sole proprietorship and incorporation. Sole proprietorship is simpler and lower-cost to set up — you register your business name with your provincial government and obtain a business number for tax purposes. Incorporation offers liability protection and certain tax advantages but involves more administrative complexity and cost.
Most nail technicians starting out register as sole proprietors and incorporate later if their business grows significantly. Registration fees vary by province but are typically modest — between $60 and $200 depending on your location. Your provincial government website provides current registration requirements and fees.
Professional liability insurance is non-negotiable. Nail services carry inherent risks — reactions to products, injuries from implements, and dissatisfied clients can all result in complaints or claims. A professional liability policy appropriate for nail technicians typically costs between $300 and $700 annually and provides essential protection. Insurdinary and BMS Canada are among the providers offering policies specifically for beauty professionals in Canada.

Step 3: Set Up Your Workspace
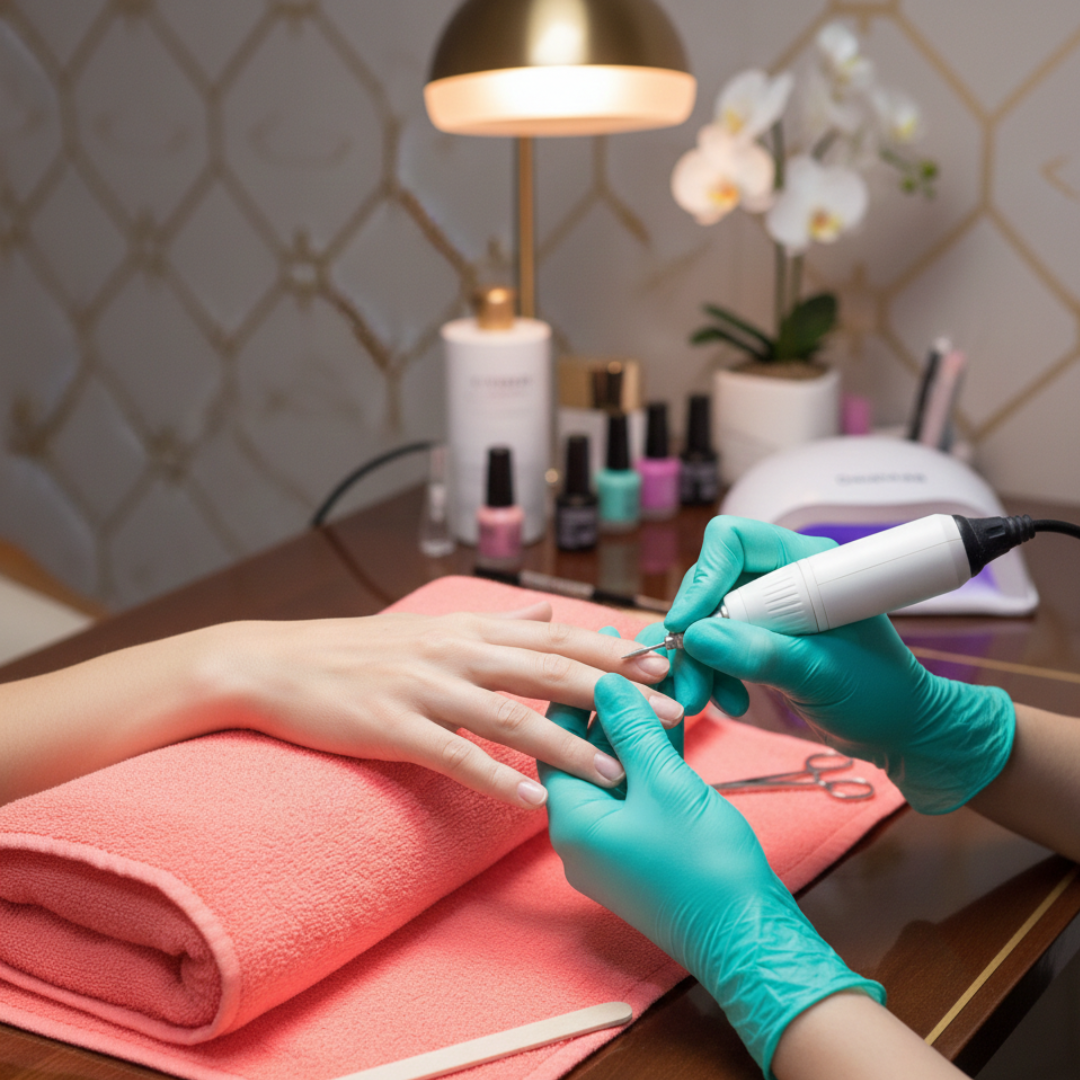
A professional home nail studio requires a dedicated, cleanly defined space — ideally a spare room rather than a shared living area. Your workspace should include a nail desk with appropriate lighting, client seating, a nail lamp, product storage, sanitation equipment, and a ventilation solution if you work with acrylic products.
Provincial health and safety regulations apply to nail services regardless of where they are performed. Most provinces require that tools be properly sanitised or sterilised between clients, that liquid waste be disposed of appropriately, and that your workspace meets basic health standards. Familiarise yourself with your province’s specific requirements before opening to clients — in British Columbia, for example, estheticians are regulated and home studios must meet provincial standards.
Step 4: Build Your Price Menu
Pricing is one of the most important business decisions you will make, and it is also one of the most commonly misjudged by new graduates. Setting prices too low to attract initial clients creates long-term problems: it establishes a price expectation in your market that is very difficult to raise, it attracts the most price-sensitive clients who leave as soon as a cheaper option appears, and it can make your business financially unsustainable.
Research what established, qualified nail technicians in your specific city charge for the services you offer. Position your opening prices at a modest 15 to 20 per cent below market rate to reflect your newly-qualified status — then raise them to market rates within three to six months as your portfolio and confidence grow. Do not position below the cheapest nail bar in your area; position relative to other certified technicians, which is the correct competitive reference point.

Step 5: Build Your Client Base
In the early stages of building a nail business, your primary marketing assets are your social media presence, your portfolio photographs, and referrals from initial clients. Instagram remains the dominant platform for nail technicians across Canada — a consistent, high-quality grid of your work will attract clients looking for a skilled technician in your area. Post consistently; at minimum three to four times per week in your early months.
Google Business Profile is a frequently underused tool for nail technicians. Setting up a complete profile — with photos, your service list, location, and response to reviews — makes you discoverable to clients searching ‘nail technician near me’ or ‘nail tech [your city]’. It takes less than an hour to configure and generates consistent organic reach at no cost.
Referral programmes accelerate growth significantly. A simple offer — a credit on their next appointment for every new client they refer — costs almost nothing and creates a genuinely motivated word-of-mouth channel. Clients who are referred by a trusted friend convert at significantly higher rates than cold social media enquiries and tend to be more loyal.
Step 6: Manage Clients Professionally from Day One
A professional booking and client management system is worth investing in early. Fresha is a popular free option among Canadian nail technicians that handles online booking, appointment reminders, client records, and payment processing. Square Appointments is another strong option with additional point-of-sale capability. Whichever system you use, establishing consistent processes for consultations, patch tests (for clients with potential sensitivities), payment, and appointment confirmation signals professionalism and reduces no-shows.
A clear cancellation policy from day one protects your time and income. A 48-hour notice requirement with a deposit or cancellation fee for last-minute cancellations is standard practice among professional nail technicians and is completely reasonable to implement from your first week of trading.
For comprehensive training in both the technical and business skills you need, our Nail Tech Certificate includes dedicated business modules. Our article on starting a nail business in Toronto covers province-specific considerations, and our beauty career resources guide provides a comprehensive reference for every stage of your professional development.