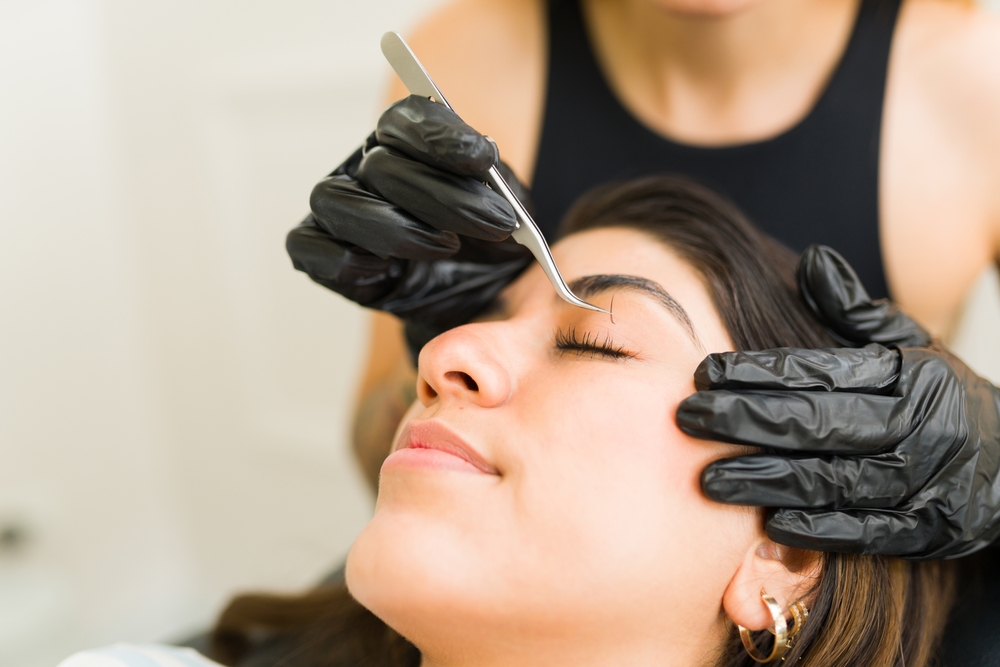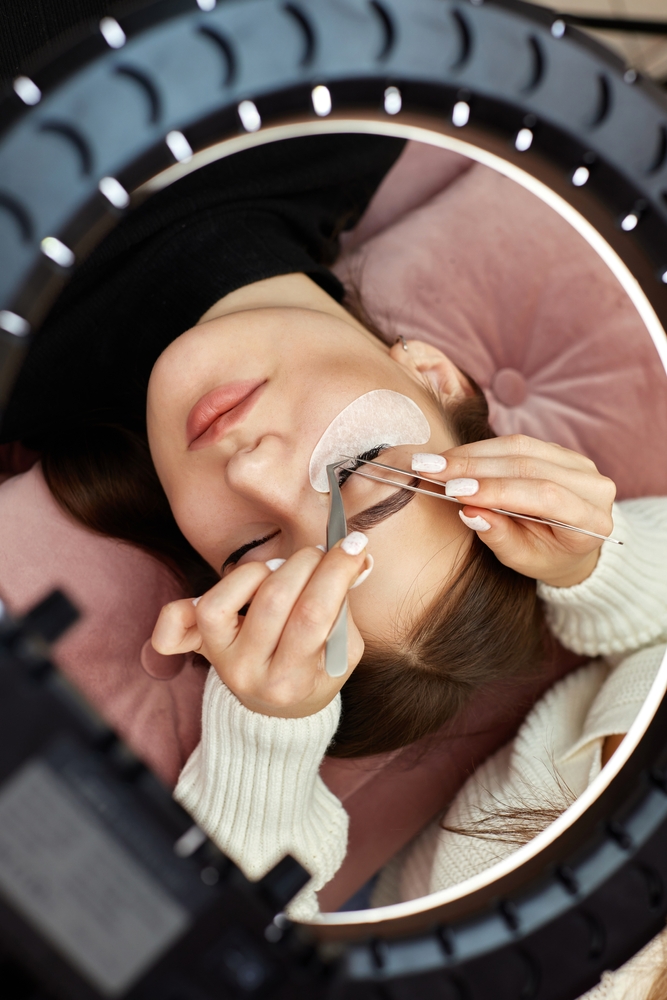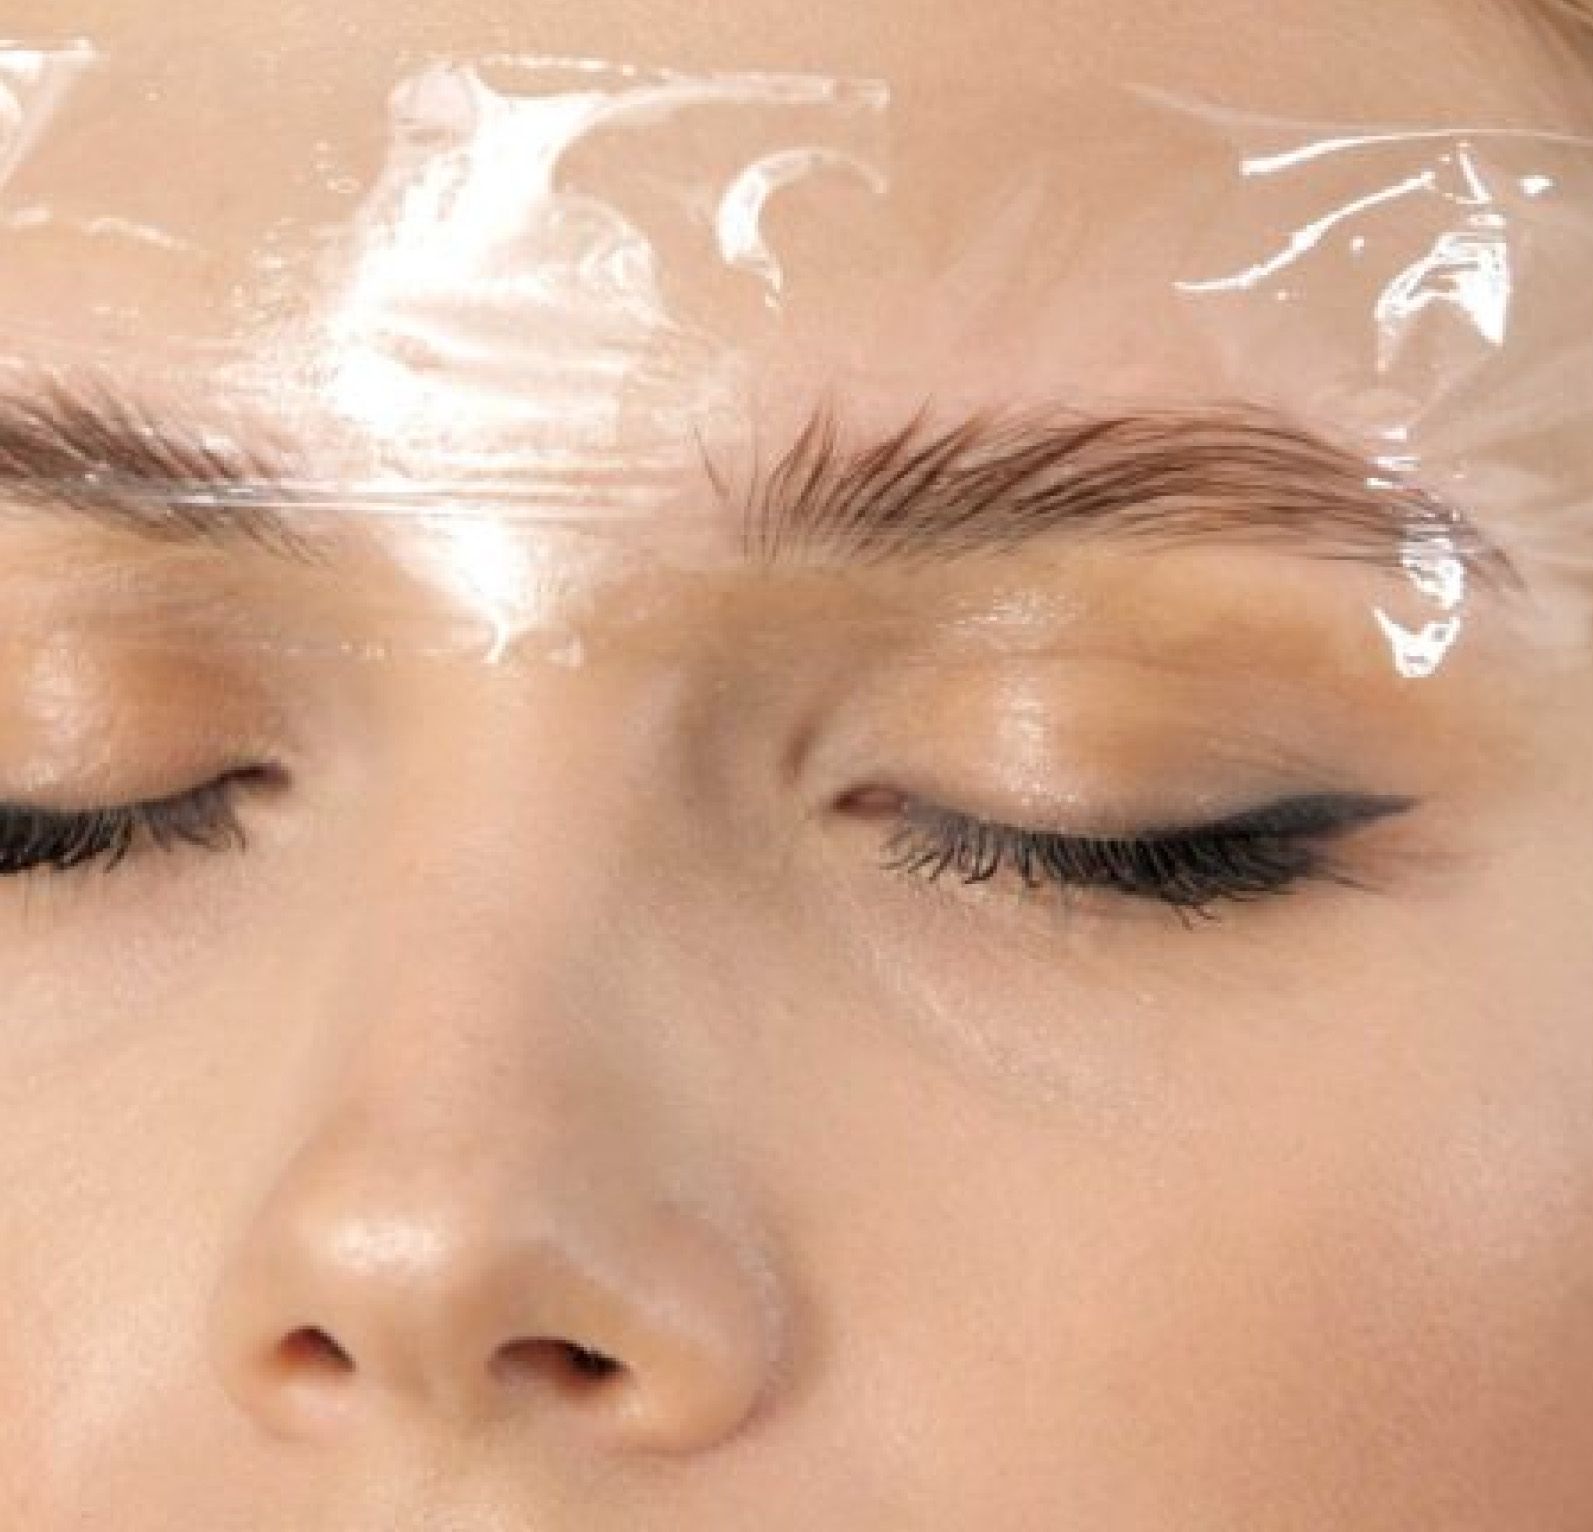
Lash mapping is the planning process that separates technicians who produce generic sets from those whose work looks genuinely tailored to each individual client. Rather than applying the same curl, length, and distribution pattern to every person who sits in your chair, lash mapping involves assessing the client’s eye shape, bone structure, and aesthetic goals — and then designing a set that specifically enhances their features.
For clients, a well-mapped set can create the illusion of wider eyes, lifted lids, or a more symmetrical appearance. For technicians, developing strong lash mapping skills is one of the clearest pathways to differentiating your work from less experienced competitors and commanding premium prices. This guide walks through the fundamentals of lash mapping from an applicator’s perspective.
Why Lash Mapping Matters
Consider two technicians applying the same products with the same level of application skill. One applies a standard progression of lengths — shorter inner corners, medium mid-lash, longer outer corners — to every client. The other assesses each client’s eye shape before designing a customised length, curl, and distribution map that creates a specific visual effect for that person.
The second technician’s clients will consistently leave looking more dramatically transformed — even with extensions of identical quality. The set feels designed rather than applied. Clients notice this difference, talk about it, photograph it, and share it. This is why lash mapping is not an advanced optional extra but a core professional skill.
Step 1: Eye Shape Assessment
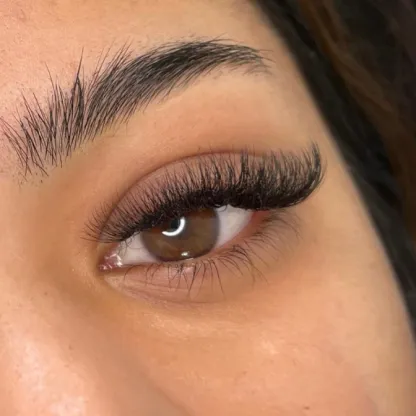
The first step in lash mapping is identifying the client’s eye shape. The main eye shapes you will encounter in practice are: almond eyes (considered the most versatile shape, balanced width and height); round eyes (wide open appearance, significant height); hooded eyes (the eyelid crease is partially or fully hidden by a fold of skin); monolid eyes (no visible crease, common in East Asian and some Southeast Asian ancestry); downturned eyes (outer corner sits lower than inner corner); upturned eyes (outer corner sits higher); wide-set eyes (more than one eye-width between the eyes); and close-set eyes (less than one eye-width between the eyes).
In practice, most clients have a combination of characteristics rather than a textbook example of a single shape. Your assessment should identify the primary characteristic driving your mapping decision — usually the most prominent feature that your design needs to address.
Step 2: Selecting Curl Types
Lash curl type has a profound effect on the visual result and should be selected based on the client’s natural lash angle, lid type, and desired outcome. The main curl types used professionally are J (minimal lift, most natural appearance), B (slight curl, subtle enhancement), C (medium curl, the most-used professional curl), D (strong curl, dramatic open-eye effect), L (flat base with pronounced curl, particularly well-suited to hooded or monolid eyes), and M (similar to L but with a sharper upward bend).
For hooded eyes specifically, standard C and D curls often disappear under the fold of the hood — the curl is there but the client cannot see it. L and M curls, with their flat base and pronounced upward direction, clear the hood and remain visible, making them the technically correct choice for this eye type rather than an aesthetic preference.
Step 3: Length Progression and Distribution
The length map — how lash lengths are distributed across the lash line — creates the overall shape and effect of the set. Common distribution patterns include the natural (gradual increase from inner to outer corner), the cat eye (shortest inner corner, dramatic increase toward outer corner for an elongated effect), the doll eye (shortest inner and outer corners, longest through the centre for a wide, round-eyed effect), and the squirrel (peak length positioned three-quarters of the way across the lash line, creating a lifted, feline effect).
Length selection is always relative to the natural lash length and strength. A common guideline is to use extensions no more than three to four millimetres longer than the natural lash at any given point on the lash line. Exceeding this risks excessive weight on the natural lash and premature shedding. Shorter natural lashes require shorter extensions; longer, stronger natural lashes can support longer extensions without compromise.
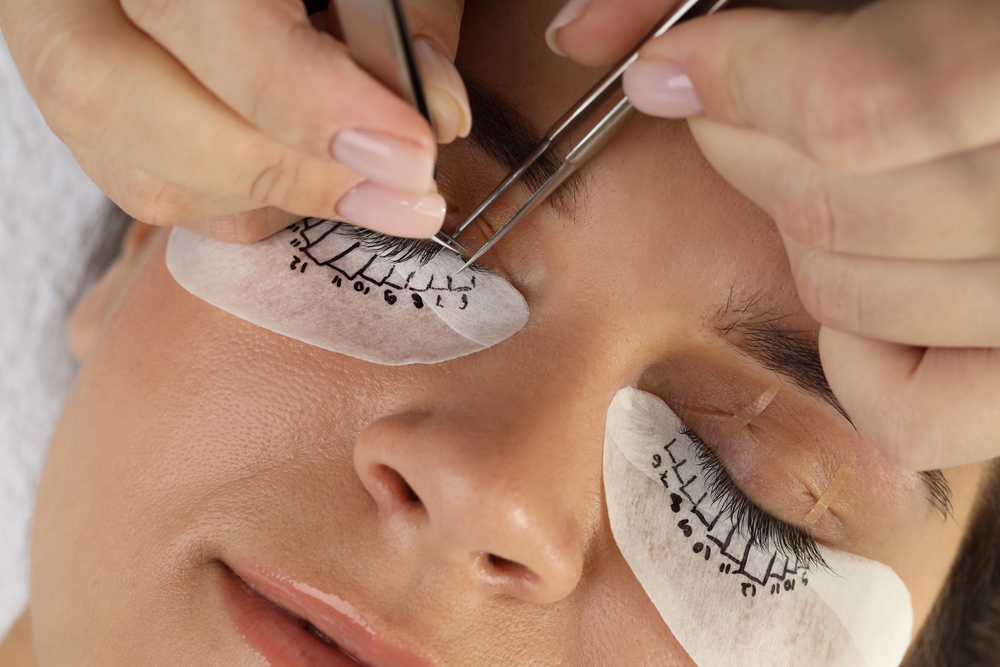
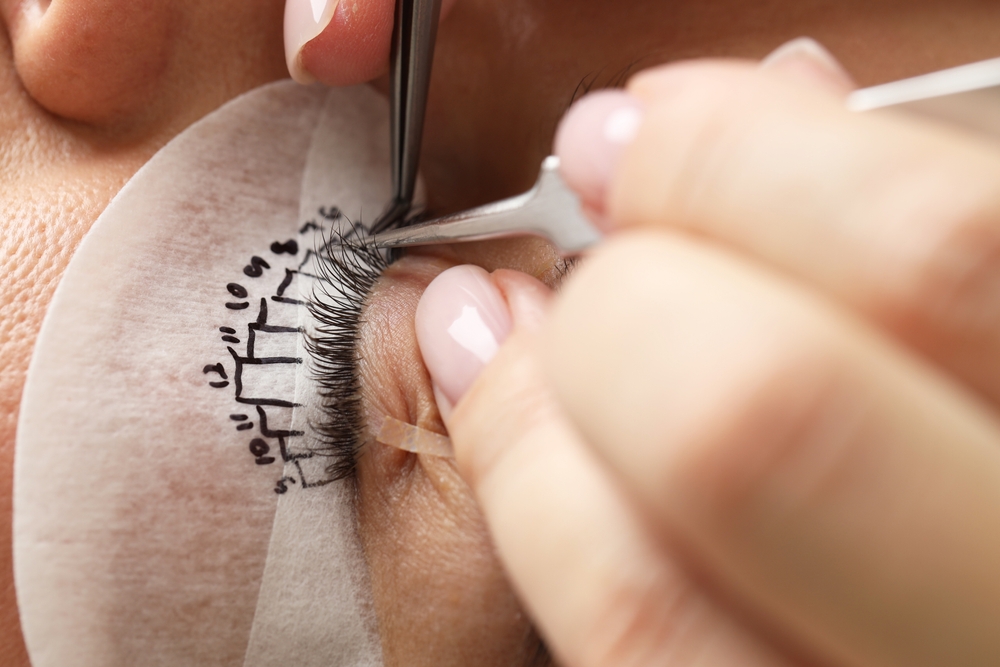
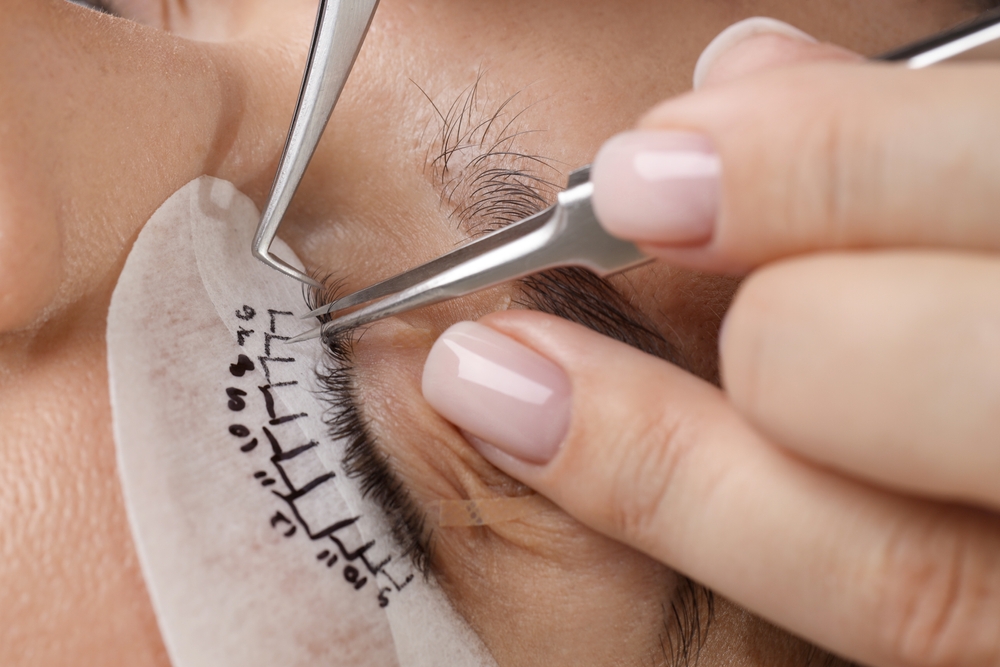
Step 4: Documenting Your Lash Map
Documenting your lash map for each client serves two purposes: it allows you to recreate the exact design at every subsequent infill appointment, and it creates a professional record of the customisation you have applied to that client’s service. Keep lash map diagrams as part of each client’s consultation record.
Many technicians use a simple printed eye template diagram on which they note the curl type and length range for each section of the lash line. Pre-printed lash map cards are available from most professional lash suppliers. Over time, your record of a client’s preferred mapping becomes a powerful tool for service consistency and client retention.
Advanced Lash Mapping: Correcting Asymmetry
One of the most valuable applications of advanced lash mapping is addressing natural asymmetry between a client’s eyes. Very few people have perfectly symmetrical eyes — the differences in size, shape, and angle are usually subtle but can be meaningfully corrected through intentional length and curl adjustments on each side independently.
For a client whose right eye is slightly more hooded than the left, a stronger L curl on the right and a standard C on the left can produce a more balanced final result. For a client with slightly unequal eye sizes, adjusting the length peak position on the smaller eye creates a visual balance that a symmetric map would not achieve. These corrections are what transform technically proficient application into genuinely exceptional artistry.
For structured training in application technique and lash design, our Certificate in Eyelash Extensions provides a comprehensive foundation. Our article on do lash lifts damage your lashes addresses a common client question worth understanding. And our hybrid lash extensions guide covers the increasingly popular mixed-technique sets where custom mapping is especially valuable.