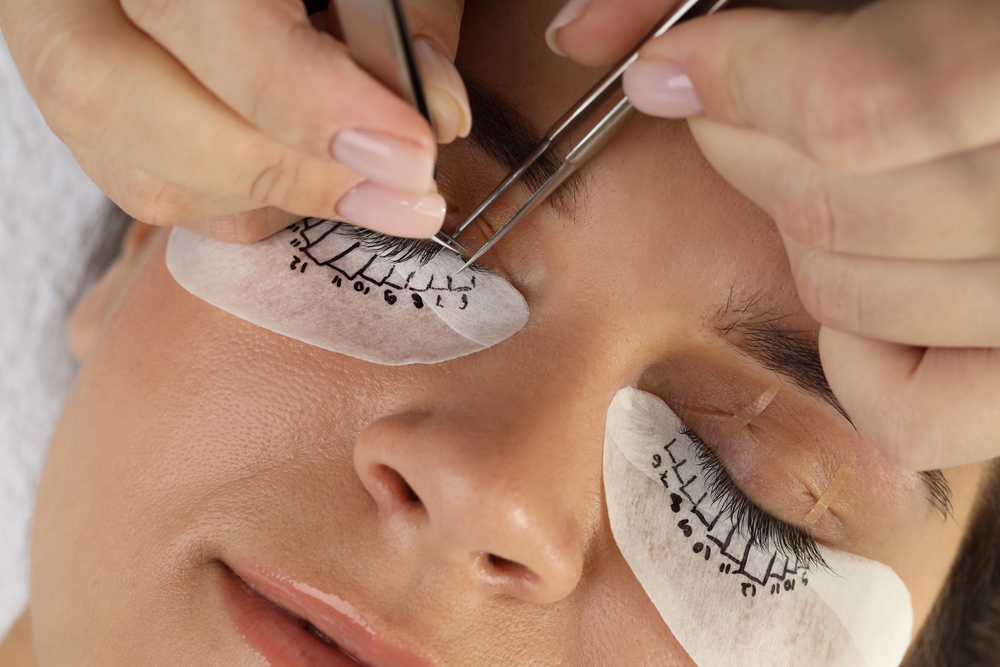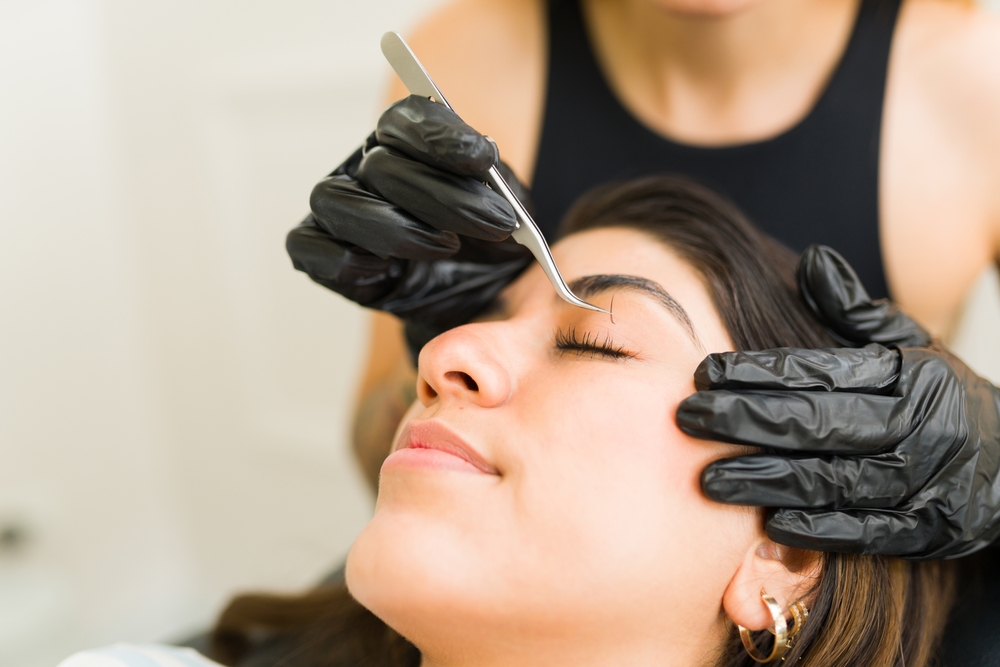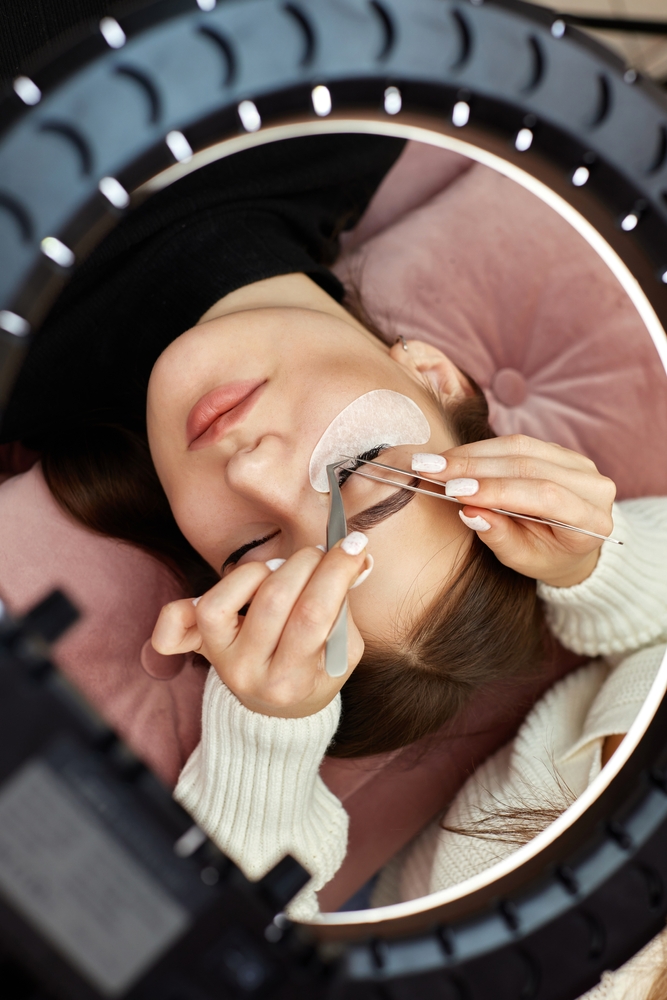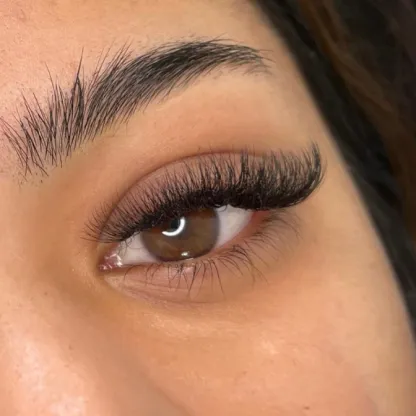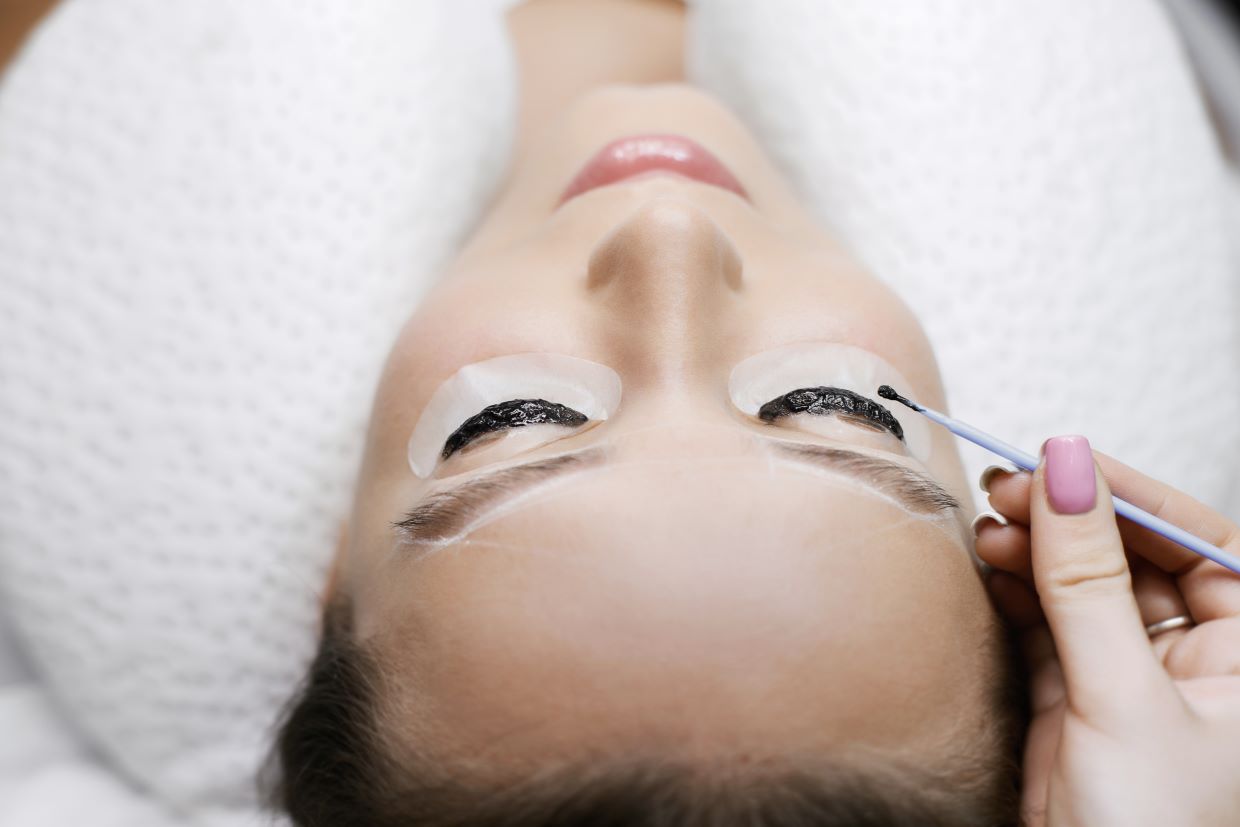
Lash mapping is the process of planning and sectioning the eye to create a customized lash design that enhances each client’s natural features. Mastering lash mapping ensures precision, consistency, and stunning results that flatter every eye shape.
At Canadian Beauty School, we teach this essential technique in our professional lash courses.

Why Lash Mapping Matters
Proper mapping ensures symmetrical results between both eyes. It enhances natural eye shape rather than fighting it. Well-mapped lashes provide comfortable, balanced extensions. Consistent results become achievable every time.
Step 1: Eye Shape Analysis
Eye Shape
Almond Eyes: Most versatile—works with most styles. Round Eyes: Benefits from cat eye styles that elongate. Hooded Eyes: Needs strategic curl and length for visibility when eyes are open. Monolid Eyes: Stunning with doll eye or open eye styles. Downturned Eyes: Cat eye helps lift outer corners. Upturned Eyes: Doll eye balances natural lift.
Eye Spacing
Close-Set Eyes: Longer lashes on outer corners create balance. Wide-Set Eyes: Emphasis on inner corners brings eyes together. Average Spacing: Follow client preference and eye shape.
Natural Lash Assessment
Consider natural lash length, density, and growth direction. Never apply extensions exceeding what natural lashes can support.

Step 2: Choose a Style
Doll Eye
Longest lengths in the centre. Opens and brightens eyes. Creates wide-eyed, youthful look. Ideal for smaller or downturned eyes.
Cat Eye
Gradual increase toward outer corner. Creates lifted, elongated effect. Sultry, sophisticated look. Perfect for round or close-set eyes.
Natural/Open Eye
Even distribution across lash line. Subtle enhancement. Suits most eye shapes. Ideal for everyday wear.
Squirrel Eye
Length emphasis in middle-outer area. Soft lift without dramatic outer corner. Popular hybrid between doll and cat eye.
Step 3: Create Your Map
Tools Needed
Lash mapping stickers or tape. Fine-tip marker. Ruler or mapping guide. Reference photos.
The Mapping Process
Divide lash line into 3-5 sections. Mark transition points for length changes. Note which lengths for each section. Document curl types for each section.
Common Mistakes to Avoid
Ignoring Natural Lash Growth: Always map based on real lash direction and density.
Incorrect Curl or Length: Match curls to natural lash lift; lengths shouldn’t exceed 2-3mm longer than natural lashes.
Inconsistent Sectioning: Use ruler or pre-drawn pads for identical mapping on both eyes.
Skipping Eye Shape Analysis: Always assess shape first before applying any style.
Our Certificate in Eyelash Extensions covers lash mapping in detail.